

Want to make some? Yeah!
 |
| yeah baby marmoset! |
Step 1: Make a gauge swatch
As usual, step 1 is make a swatch with your chosen yarn and needles. If you're working with multiple kinds of leftover yarns, just try to make sure they're in the same weight class. When in doubt, go bigger/thicker! Making something for a growing kid, always err on the side of too big.
Step 2: Pick a size and style
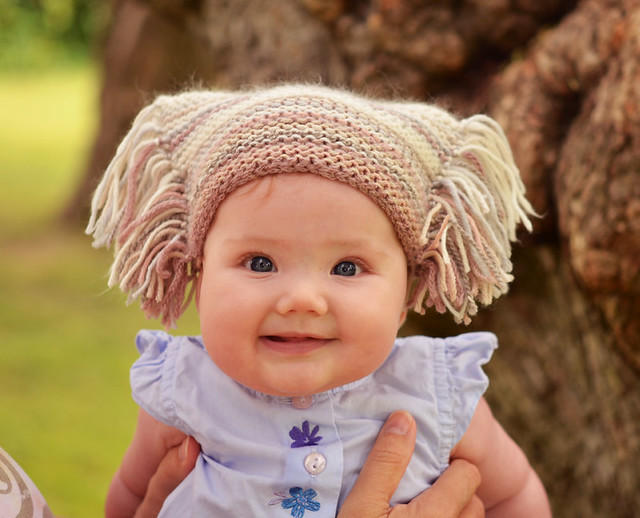
My favorite way (and the simplest) is to make rectangular hats that end up having adorable "ears" because of the extra fabric on each side of the head. You can always decrease like a regular hat, shaping the top of the crown by decreasing stitches towards the top (here's a good pattern for knitting flat, shaped baby hats), and then seaming up the fringed (or plain) edges as you would with the rectangular hats.

Step 3: Knit it!
If you want a fringed hat, just cut the yarn after each row (leaving a 5" tail or so), knot a new yarn onto the cut yarn, and knit the next row. Keep doing that and you get a fringe on each side of the piece.


Go crazy! Have fun!! Happy Holidays.
xxoo
2 comments:
so adorable!!I love the unconventional fringe, it's super cute.
Thanks so much, Julie! :D
Post a Comment